

Enter your Envoy account credentials
The OAuth2 password grant signs in with an Envoy user’s own email and password, so the connection has exactly that user’s permissions. Enter the credentials of the Envoy account you want StackOne to act as into StackOne Hub.
1
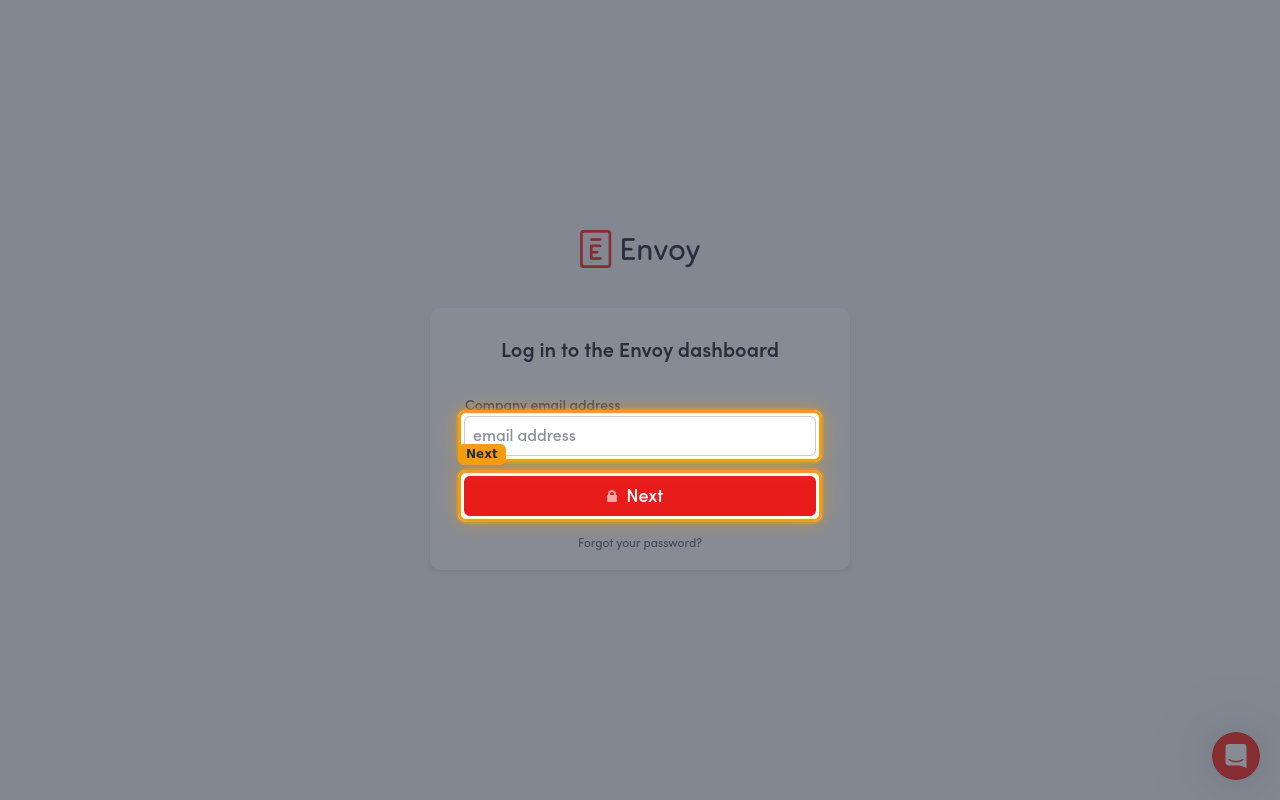
Enter your Envoy email and password
These are the same credentials you use at the Envoy dashboard sign-in page. Enter them into StackOne Hub.
- Username (Email) — the email address of the Envoy user account, entered under Company email address when signing in to Envoy.
- Password — the password for that same Envoy user account.
2
Configure the scopes (optional)
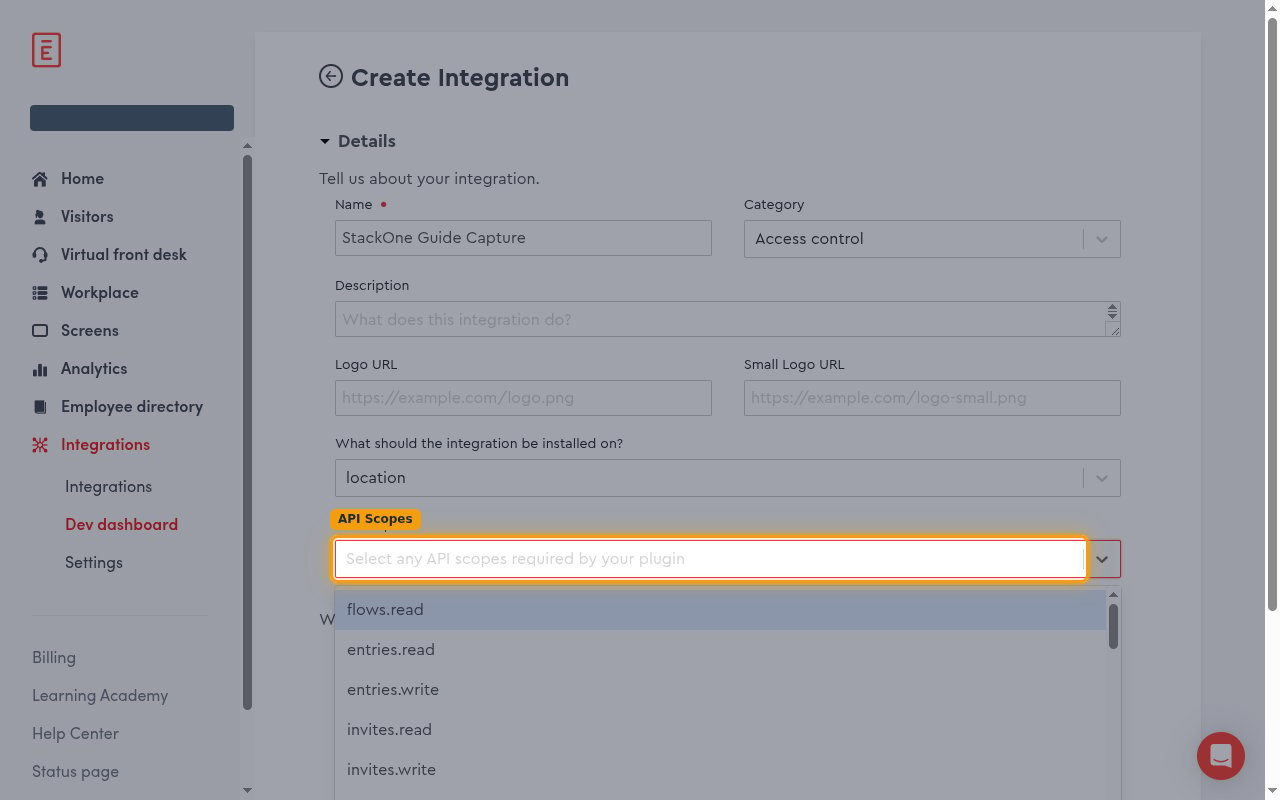
The Scopes field is optional. Leave it blank to request all the permissions the StackOne actions need. Only set it if you want to narrow the access — enter a comma-separated list of Envoy scopes.
- Format:
scope1,scope2,scope3(comma-separated, no spaces) - Example:
locations.read,entries.read,invites.read
Linking the Account from the Hub
1
Navigate to the Hub
Use one of the three Linking Account Methods to access the Hub.
2
Fill out the fields
Fill out the following fields using details from your provider:
- Username (Email)
- Password
- Scopes (Optional)
3
Connect
- Click Connect
- If applicable, the provider will redirect you to a sign-in or authorization page. Complete the provider’s authorization flow.
- Once authorization is successful, you will see a confirmation popup
If the account linking is successful, you will see the newly linked account in your Accounts page.